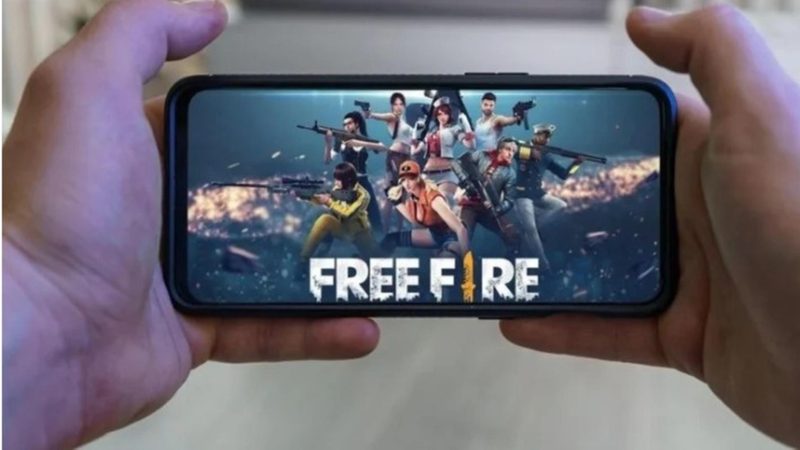
Free Fire, one of the most popular eSports battle royale video games, is a fast-paced and strategic game that has a massive fan following.
Developed and published by Garena, a Singaporean company, Free Fire made its debut on December 8, 2017, initially catered towards Android and iOS users.
The game primarily revolves around two main modes: Battle Royale, where as many as 50 players vie to be the sole survivor on an island, while the other is Clash Squad, which is a team-based mode featuring two teams of four players competing in a best-of-five series.
With Free Fire being a highly competitive eSports game, players are constantly on the lookout to gain an edge over their competitors by any means necessary.
One way, in particular, where a player can gain a significant advantage over their opponents is by using the auto headshot config that exponentially increases the accuracy of your shots and winning.
One of the smartest ways to improve your chances of winning in Free Fire, the auto headshot config boosts your accuracy and precision multifold.
Here, we take a closer look at the Free Fire auto headshot config file, its benefits and how to maximise its potential.
Free Fire auto headshot config file
An absolute game-breaker for players eyeing an improvement in their shooting accuracy and precision, the Free Fire auto headshot config file enables players to automatically aim for the heads of opposition gamers, making it easier to eliminate or kill them swiftly.
It betters one’s kill-to-death ratio by consistently executing headshots to help increase your kill count while also minimising deaths.
Secondly, headshots inflict more damage than body shots, which means you can kill and eliminate enemies more quickly by using this method.
Lastly, it also boosts your overall gameplay experience by enabling enhanced accuracy that gives you an edge over your enemies and makes for a more level playing field for new gamers who may find it difficult to aim initially.
Hence, automating headshots makes it a fair game for newcomers against seasoned veterans of the game, thereby making it more fun and less frustrating for beginners. With that in mind, let's look at how to set up Auto Headshot Config in Free Fire.
Setting up Auto Headshot Config in Free Fire
You can set up an auto headshot config in Free Fire by simply following the steps mentioned below:
- Firstly, download the Free Fire auto headshot config file from a trusted source to prevent potential security or malware risks
- Once downloaded, you must extract the files on your device by utilising a file manager app that ensures the config files are extracted to an appropriate directory on your device.
- After the extraction is complete, you must open the Free Fire game and navigate the settings menu before applying the changes and restarting the game.
It is recommended that you ensure all settings are saved accurately before restarting the game to activate the new auto headshot config to achieve the best performance and prevent in-game problems. Here are the best settings for Free Fire auto headshot config for Android.
Best settings for Free Fire auto headshot config for Android
To get the best results using Free Fire auto headshot config file, adjust your settings in the following manner:
General Sensitivity: Set this to a maximum responsiveness of 100 since higher sensitivity enables more swift adjustments for your aim.
Red Dot Sight: This setting makes it possible to target enemies in short distances quickly and any value between 90 and 100 is ideal for close-range battles.
2x Scope: Striking a balance between pension or accuracy and speed is important and this can be achieved by adjusting your setting to about 85 for mid-range targets.
4x Scope: As far as the ideal setting for enemies at a distance or a far range is concerned, adjust your setting to 80 for long-distance shots.
AWM Scope: Moving on to snipers and targeting enemies from a huge distance, adjusting your settings to 75 is what’s considered perfect for sniping purposes.
All things considered, your settings can be further fine-tuned based on your preferences and the performance of your device.
Different players may prefer different settings based on their playing style, making it important to first experiment with the settings and strike the perfect balance that suits your game style and makes you feel comfortable to give you the best possible chance of success.
Photo credit: Alamy


